


FOCUSING THE PROJECTION
To ensure a sharp and clear projection, follow these steps to adjust the focus:- The product uses a zoom imaging system. After receiving the projector, adjust the focus as needed.
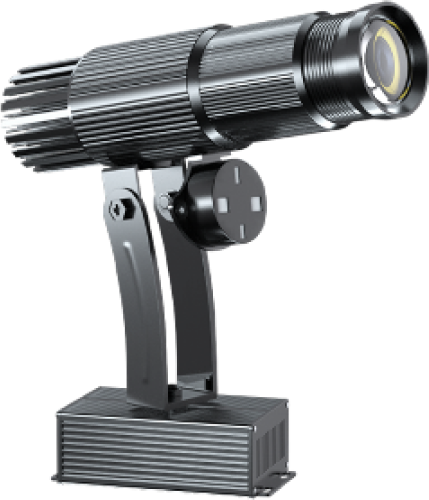
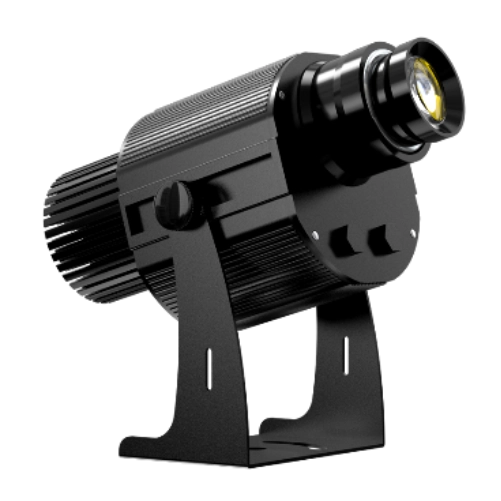
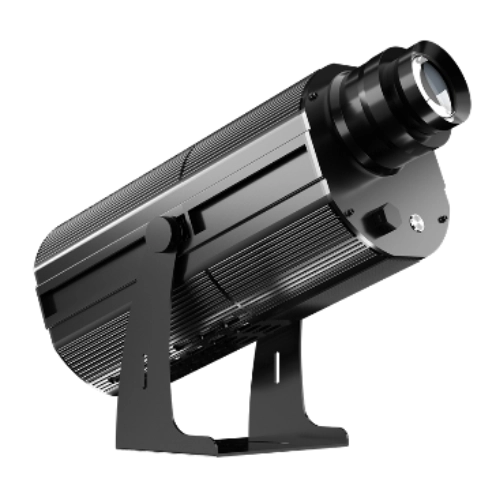
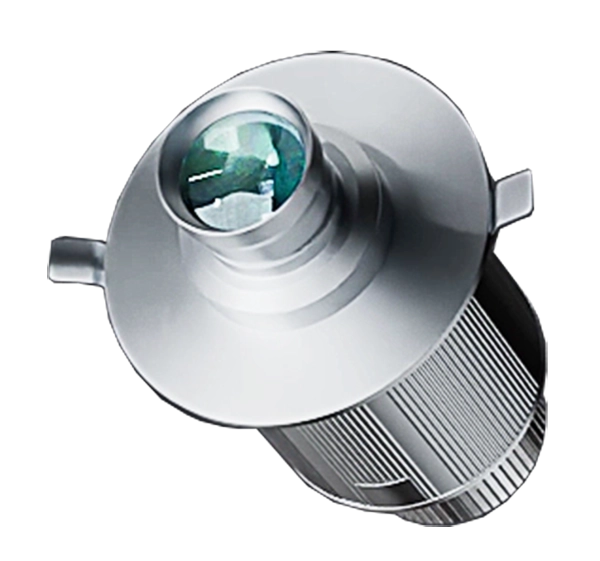
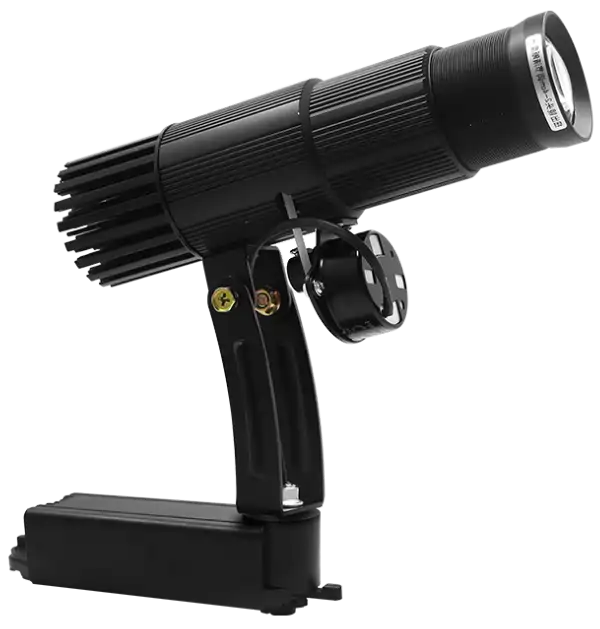
- Turn the lens at the front of the projector (a label on the lens indicates adjustment).
- Rotate the lens outward or inward until the logo projection is sharp.
- For shorter projection distances, rotate the lens further outward.
- For longer projection distances, rotate the lens inward.