Přihlášení PreviewPilot
Support · Mounting guide ∞

How to mount a gobo projector

Poles, walls, ceilings, canopies, ledges and lighting track. Our projectors ship with a mounting bracket. Here is exactly how to fix it to your spot, what hardware to pick up, and real installs to copy.

What comes with it, and what you pick up

No special kit. The fixings depend on your surface, so they come from any hardware store.

In the box
  • Mounting bracket: on most models the projector tilts in it and locks
  • Power cord, 5 ft standard, longer cut to length on request
  • Remote control
  • Recessed models: trim ring and driver
  • Track models: track adapter (2-wire or 3-wire)
You supply
  • Pole: 2 stainless band clamps or U-bolts sized to the pole
  • Brick, block, concrete: sleeve or wedge anchors
  • Framed wall: structural screws into a stud or blocking
  • Ceiling: lag screws into a joist, or through-bolts
  • Outdoors: a GFCI weatherproof outlet; a timer if you want it automatic

Five ways to mount it, up close

Pick the one that matches your spot. Tap a drawing to see it full size.

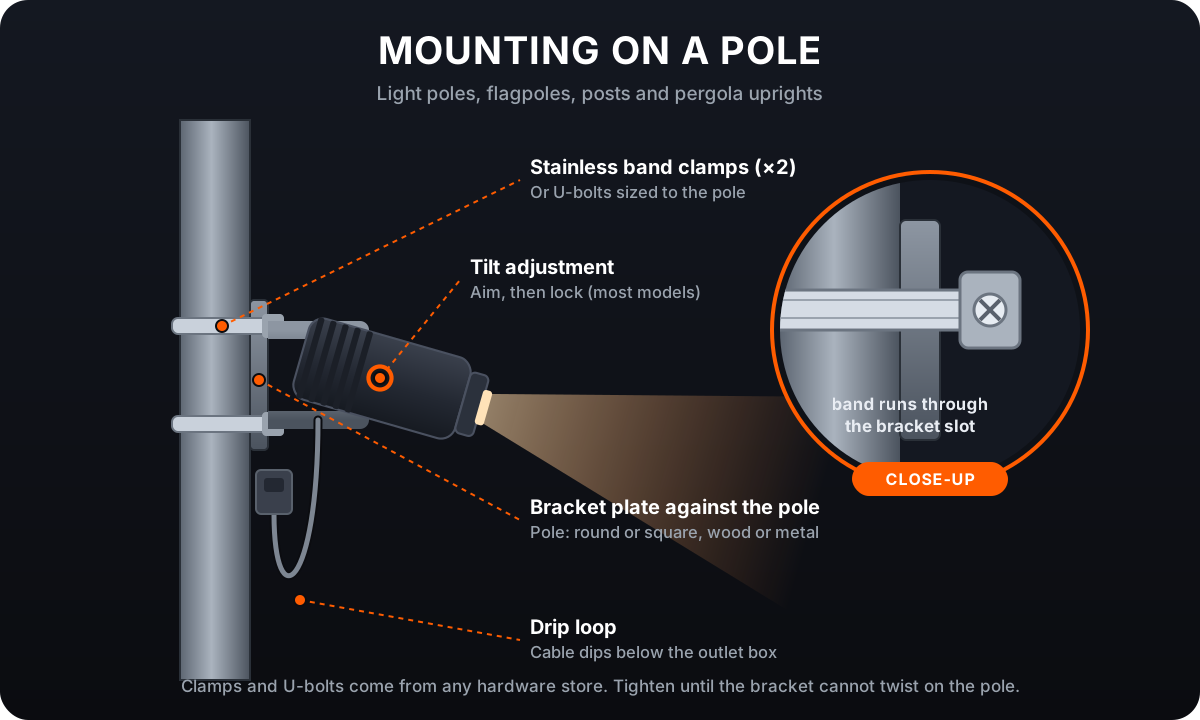
Diagram: projector bracket held to a pole with two stainless band clamps, with a drip loop in the cable Tap to enlarge
1

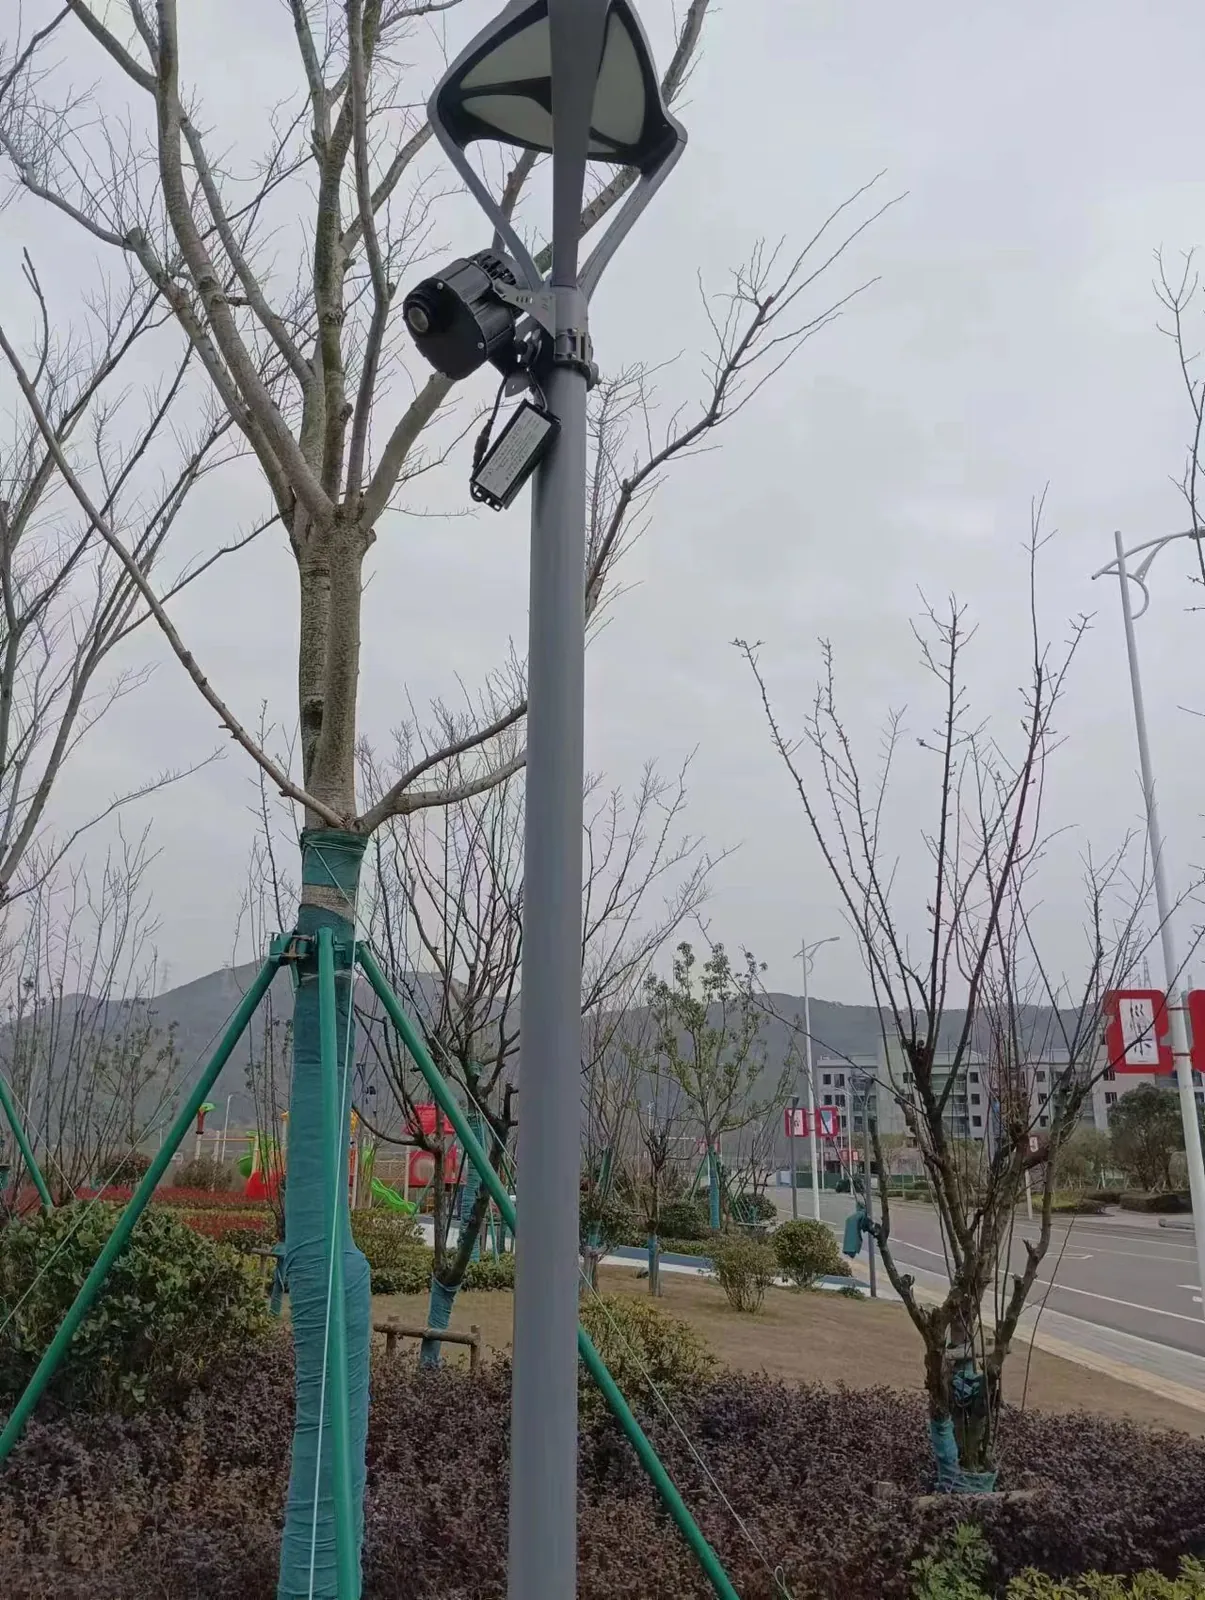
On a pole or post

Best for: Parking lots, entrances, plazas, sidewalks, light poles

  1. Hold the bracket plate flat against the pole at the height you want.
  2. Run two stainless steel band clamps (or two U-bolts sized to the pole) through the bracket slots and around the pole.
  3. Tighten until the bracket cannot twist, even when you push on the projector.
  4. Loop the cable down below the outlet box before it rises into it — a drip loop keeps rain out of the plug.

Two stainless band clamps or U-bolts sized to your pole, from any hardware store.
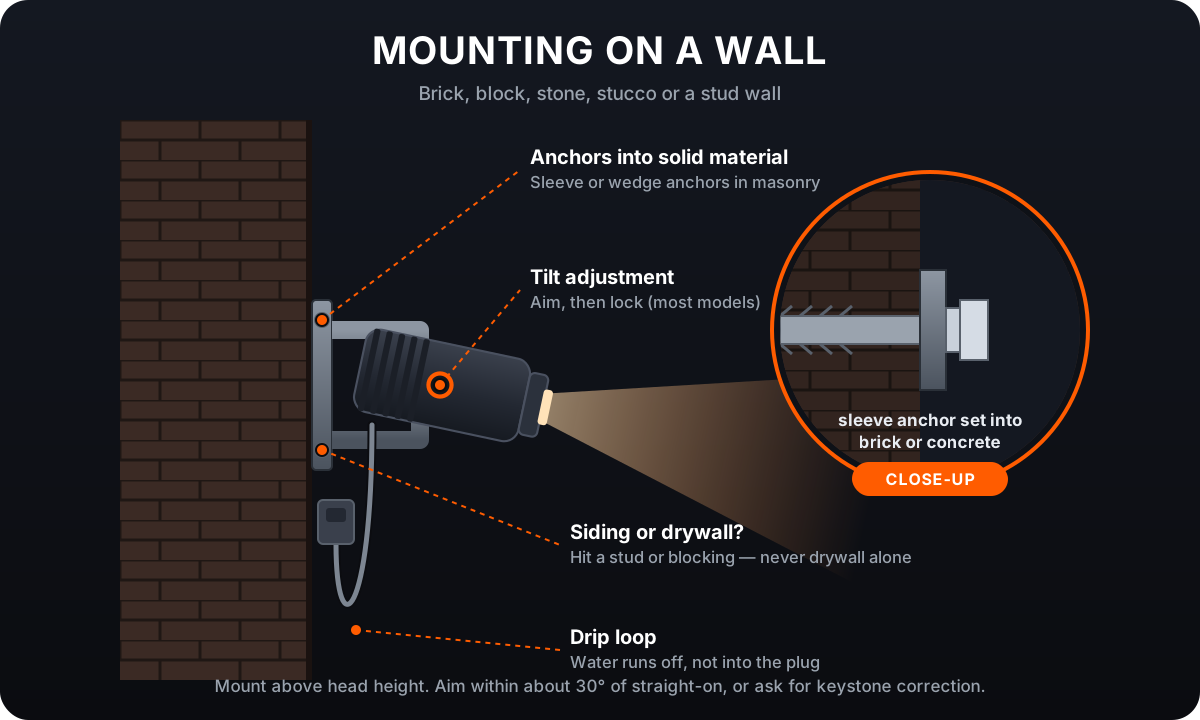
Diagram: projector bracket anchored to a brick wall with sleeve anchors Tap to enlarge
2

On a wall

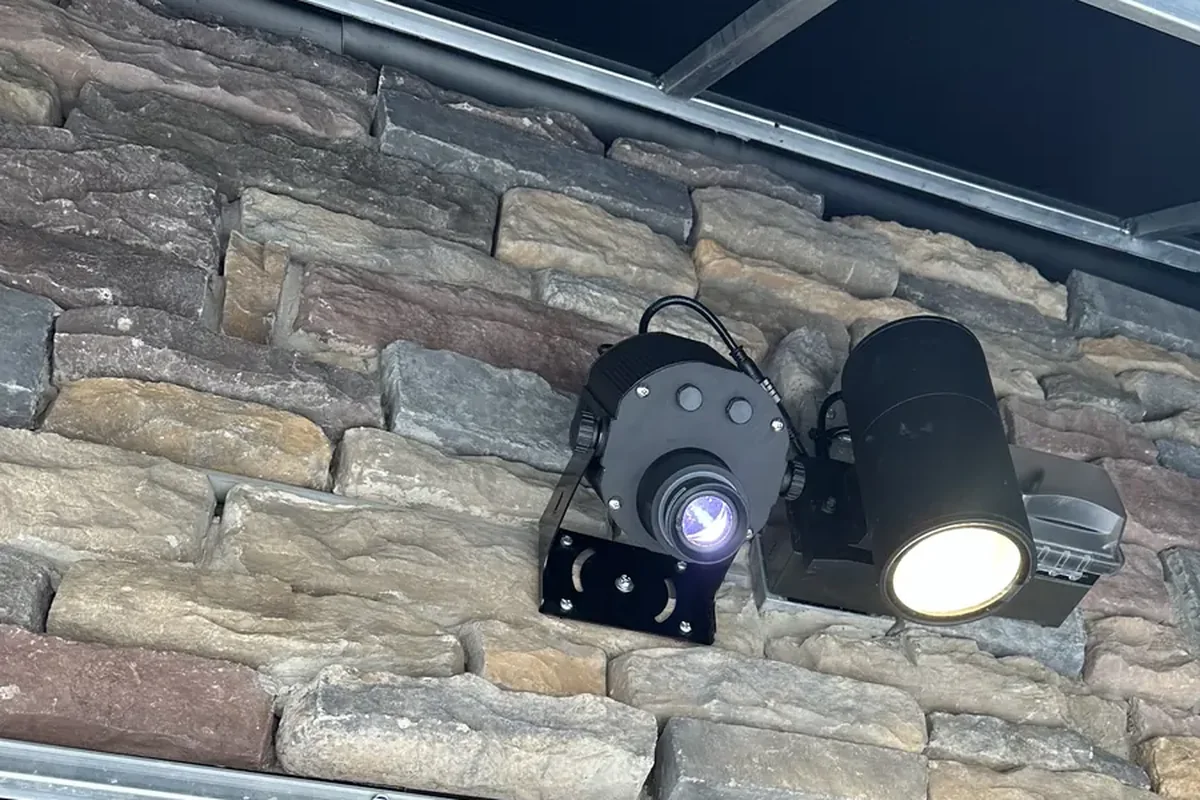
Best for: Storefronts, building faces, warehouses, interior feature walls

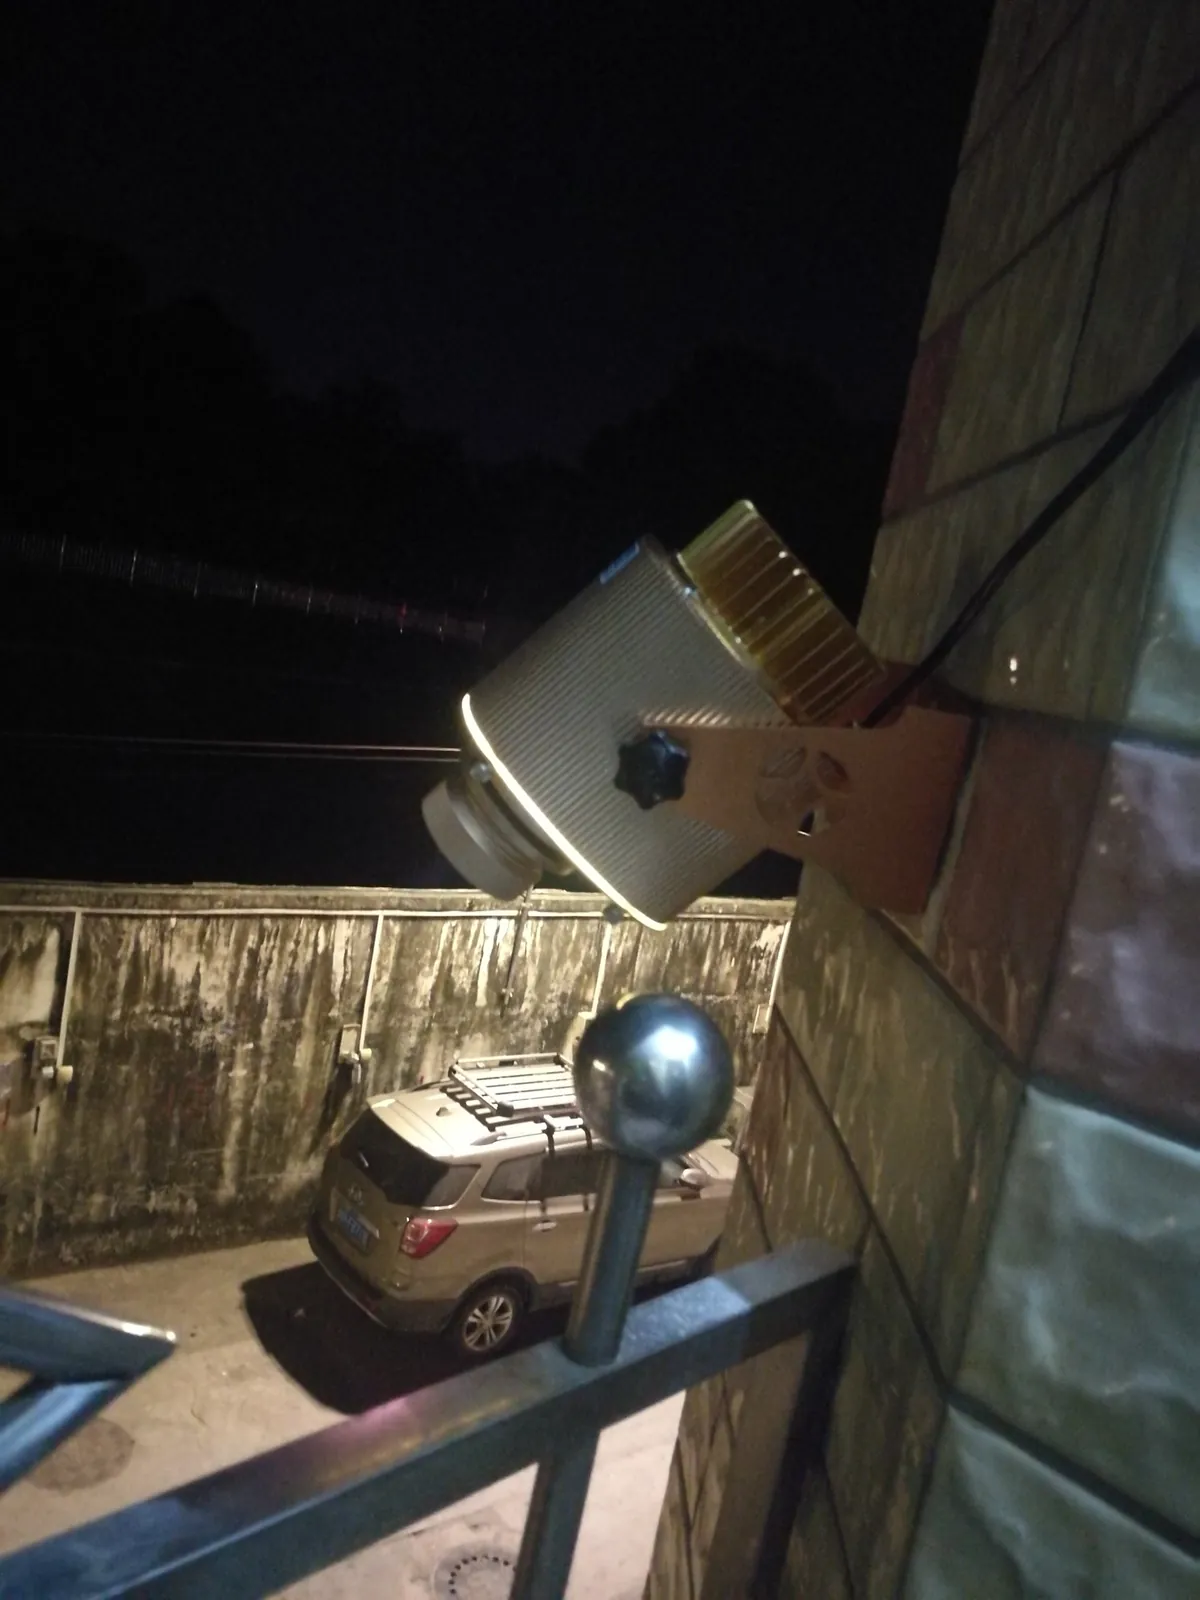
  1. Mark the bracket holes on the wall, above head height.
  2. Brick, block, stone or concrete: drill and set sleeve or wedge anchors.
  3. Siding, stucco or drywall: fix into a stud or solid blocking — never into drywall alone.
  4. Bolt the bracket on, mount the projector, then aim it and lock it in place.

Masonry anchors or structural screws suited to your wall.

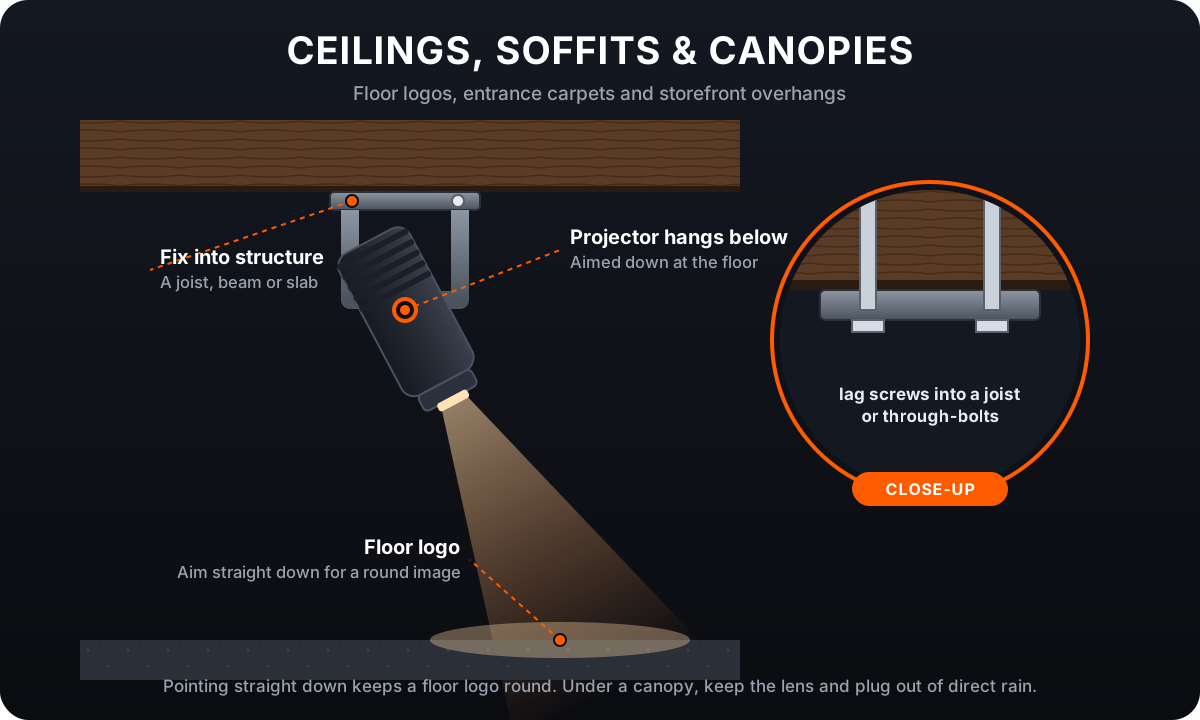
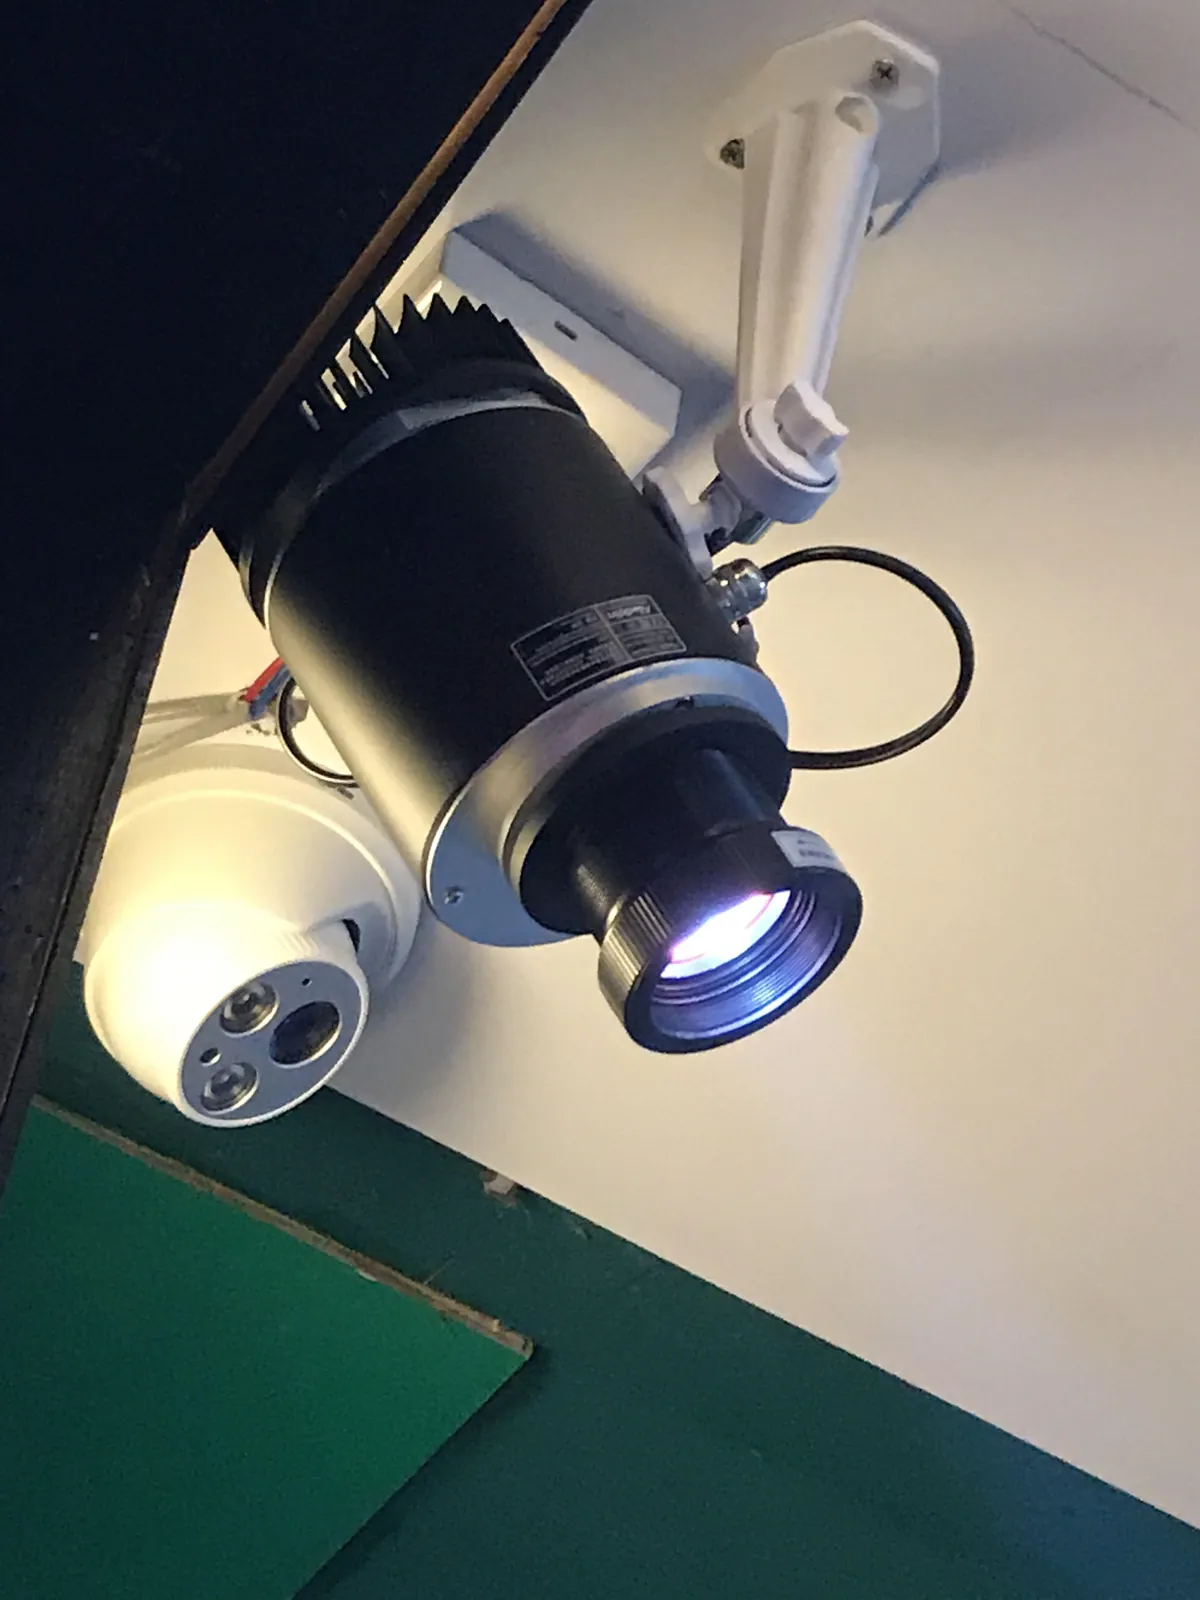
Diagram: projector hanging upside down on its bracket from a ceiling beam, projecting a logo onto the floor Tap to enlarge
3

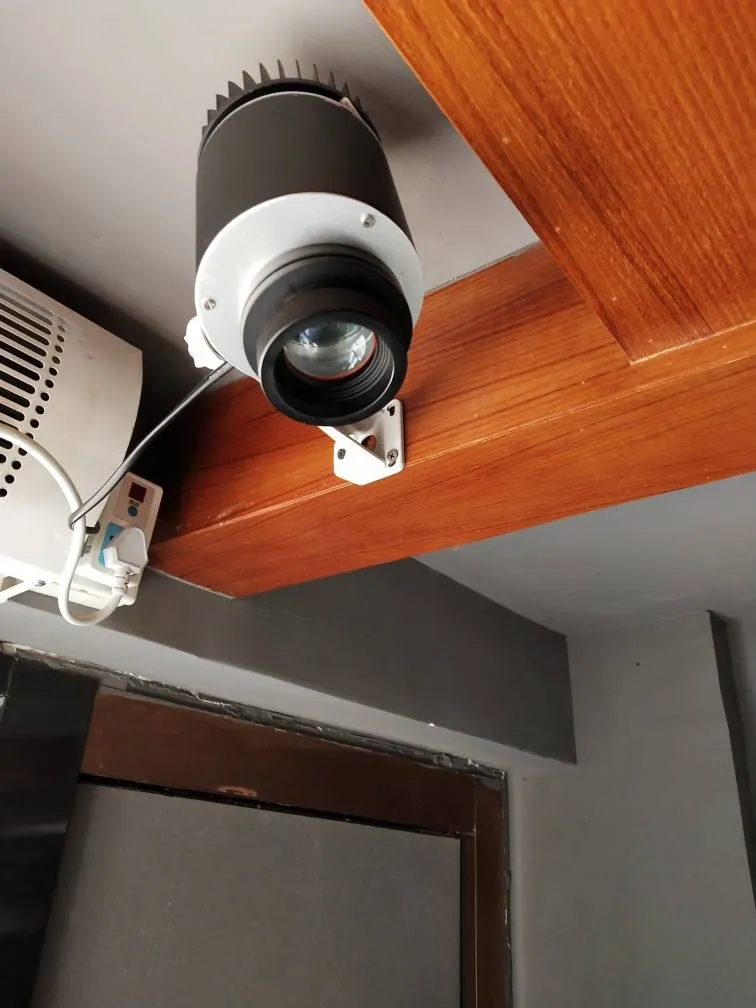
Ceilings, soffits & canopies

Best for: Floor logos, entrance carpets, store aisles, under awnings and canopies

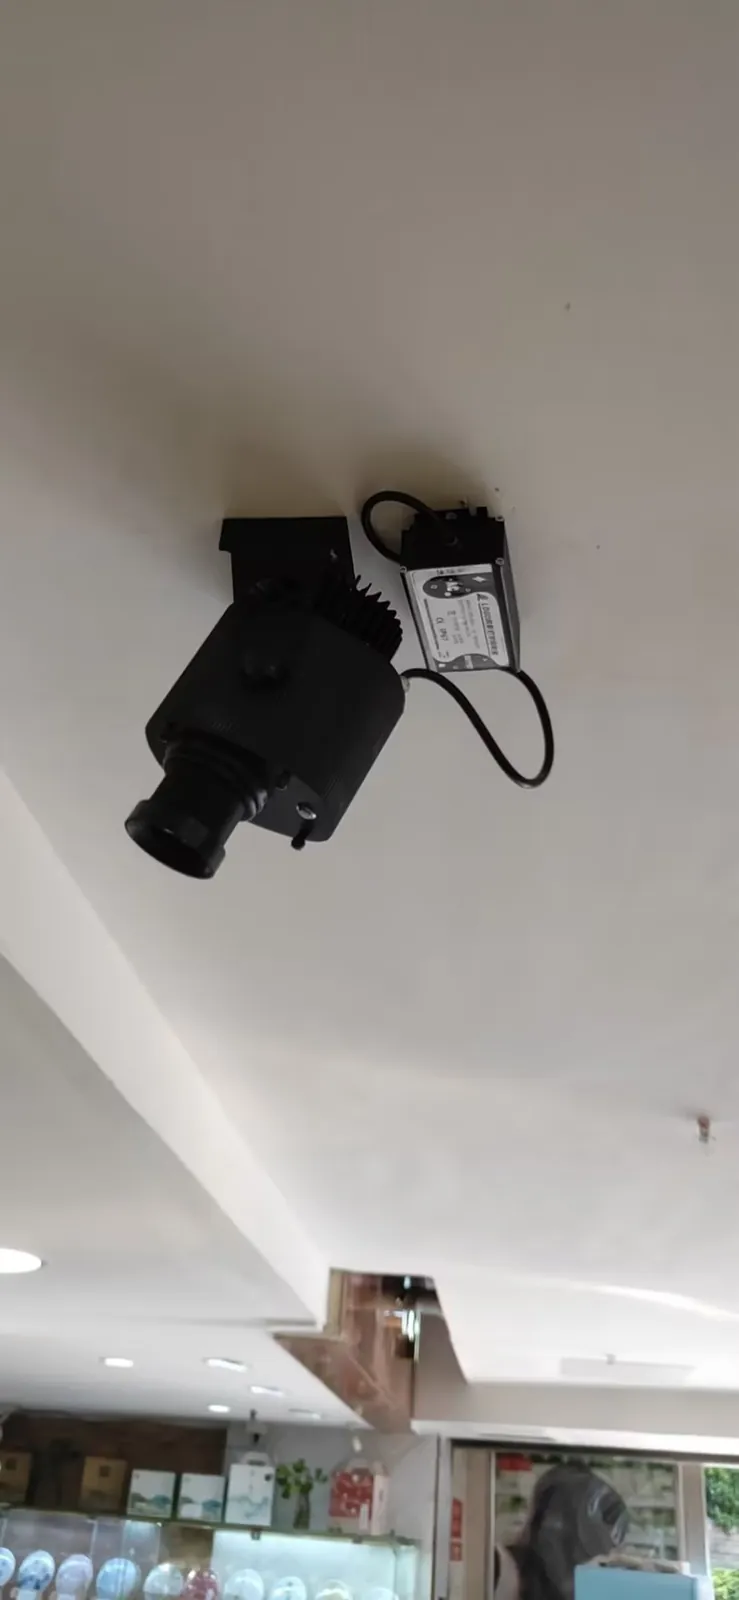
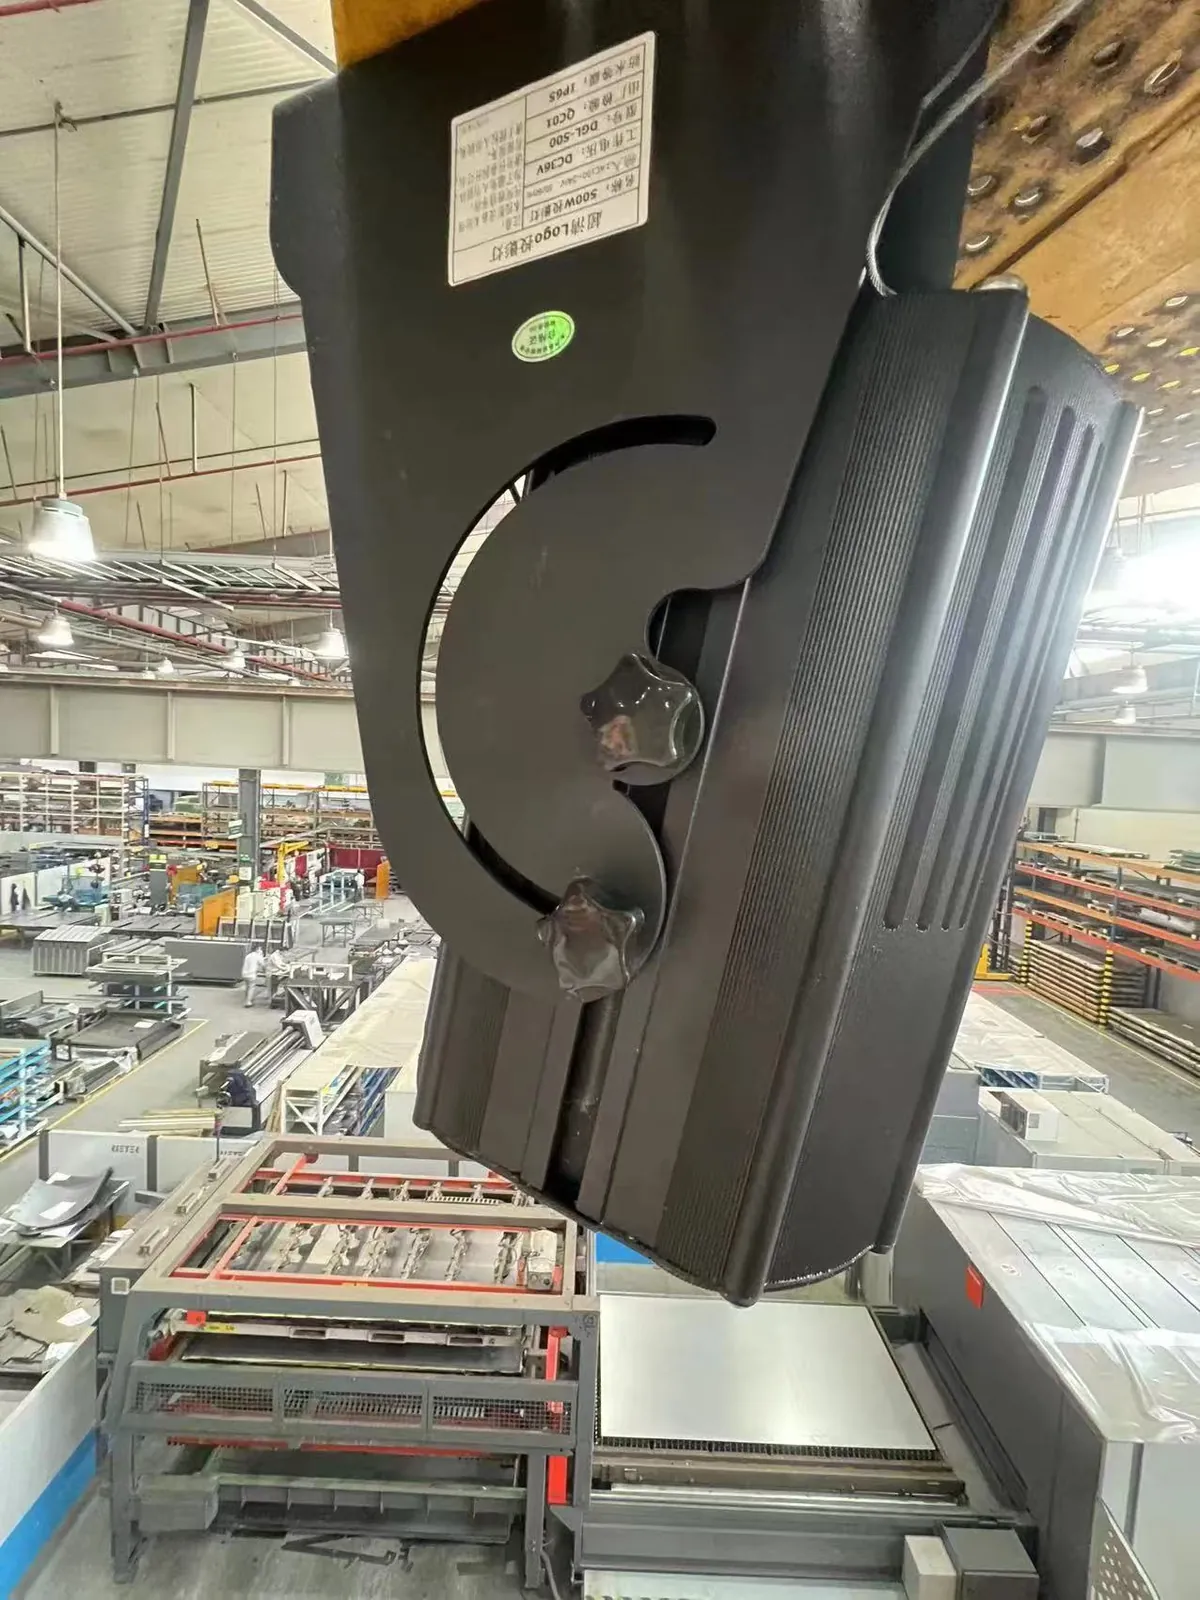
  1. Find a joist, beam or concrete slab — not just the ceiling board.
  2. Fix the bracket with lag screws into wood, or through-bolts / concrete anchors.
  3. Mount the projector to the bracket so it hangs below, aimed down.
  4. Aim straight down for a round floor logo; under a canopy keep the lens and plug out of direct rain.

Lag screws, through-bolts or concrete anchors for your ceiling.

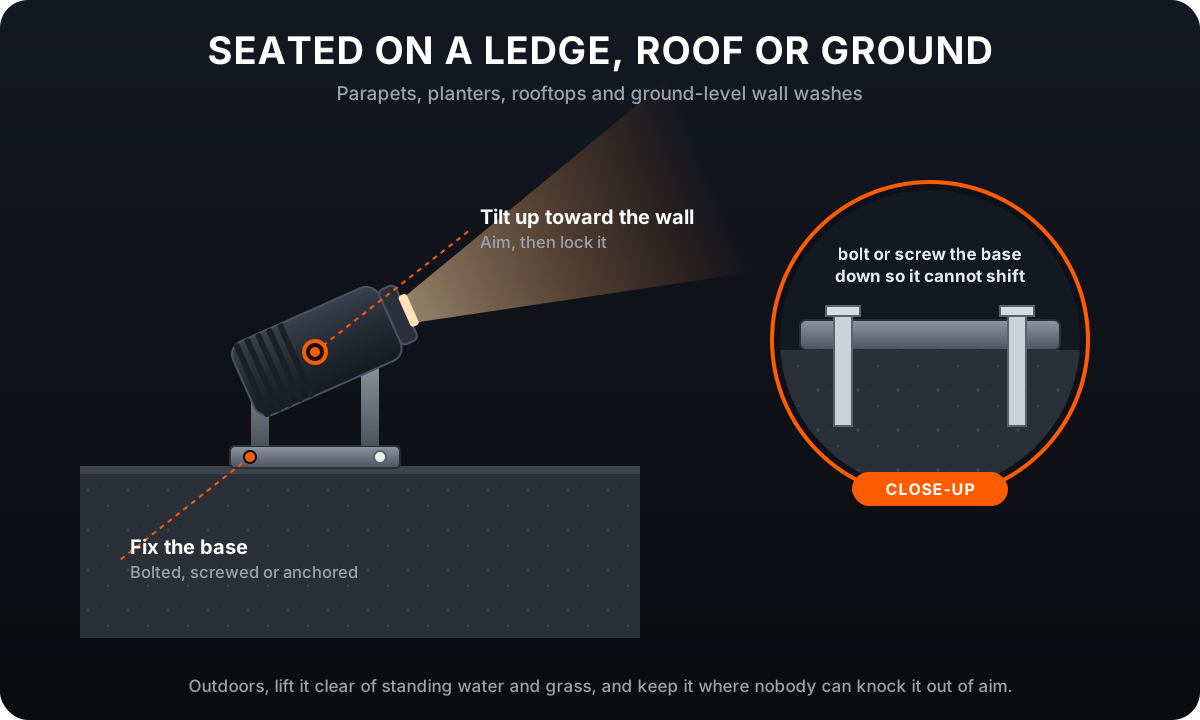
Diagram: projector seated on its upturned bracket on a concrete ledge, base bolted down Tap to enlarge
4

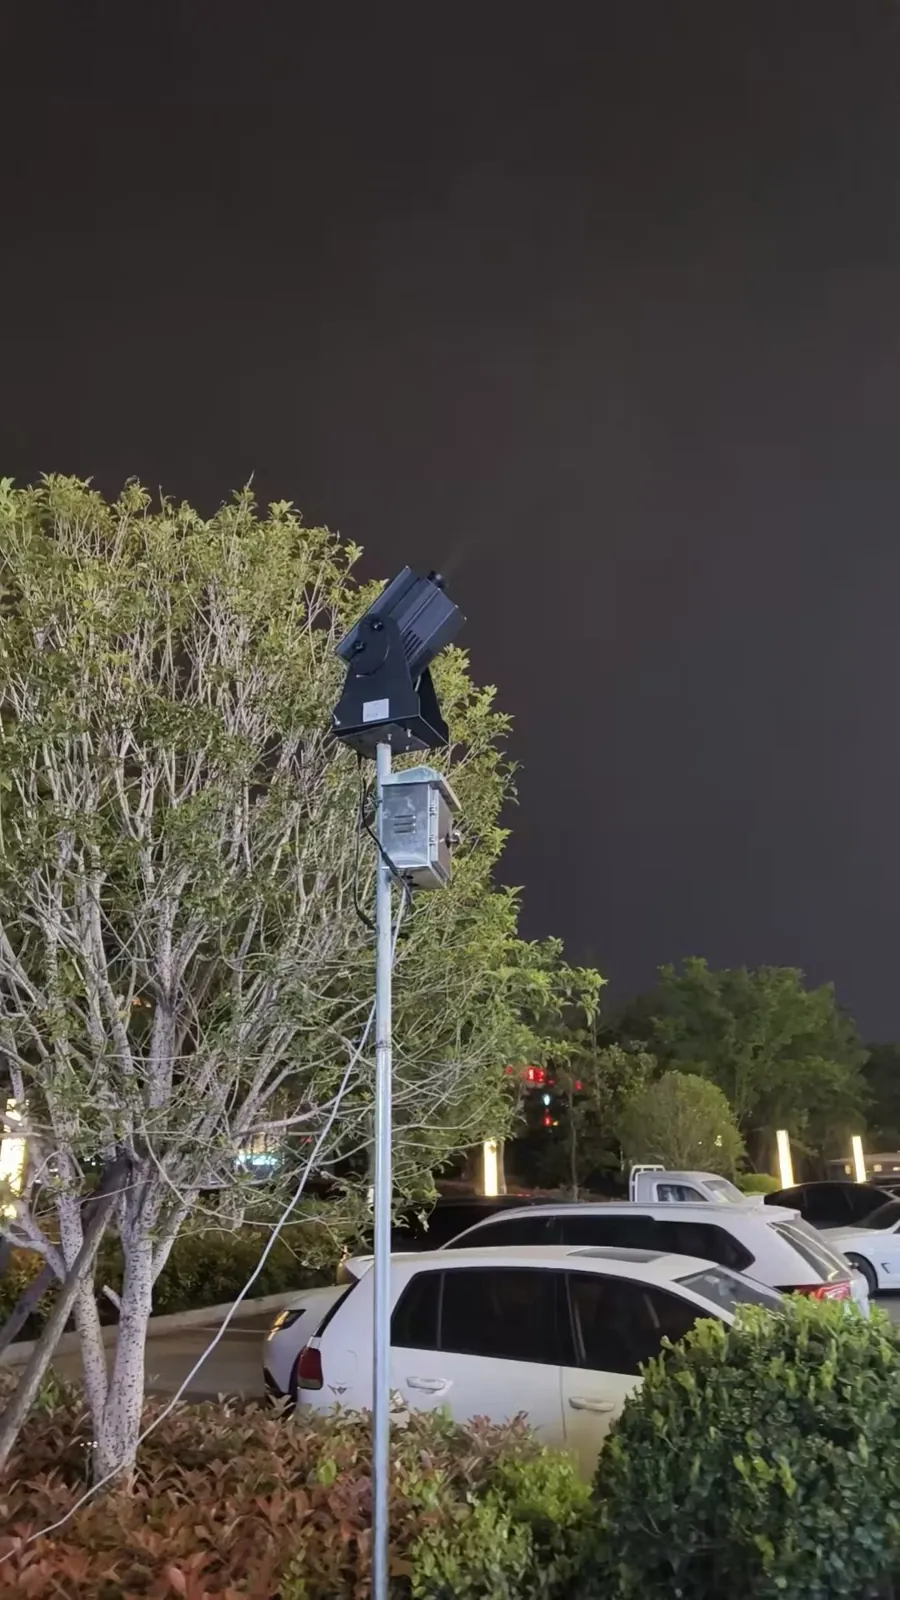
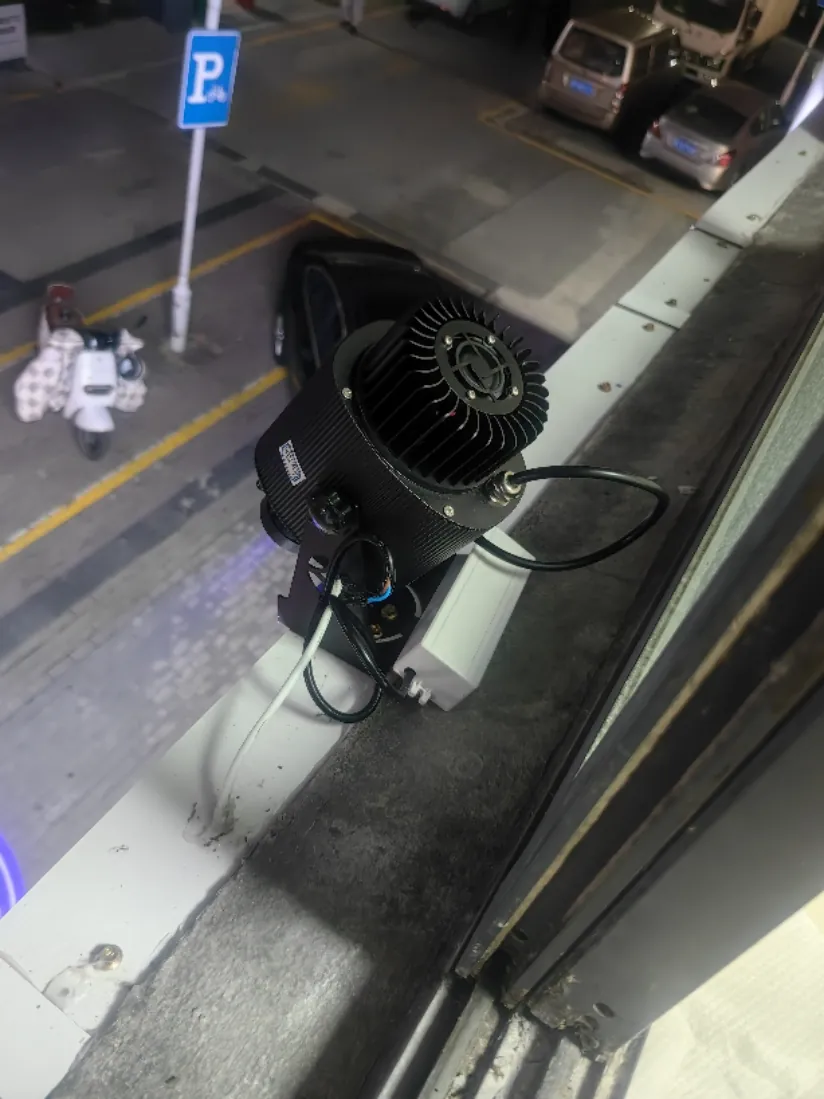
Seated on a ledge, roof or ground

Best for: Rooftops, parapets, planters, upward wall washes from the ground

  1. Stand the projector on its bracket base (ask us if your model's bracket can sit this way).
  2. Bolt, screw or anchor the base down so it cannot shift or be knocked.
  3. Tilt the projector up toward the wall and lock it in place.
  4. Outdoors, lift it clear of standing water, snow and sprinklers.

Screws or anchors for the surface it sits on.

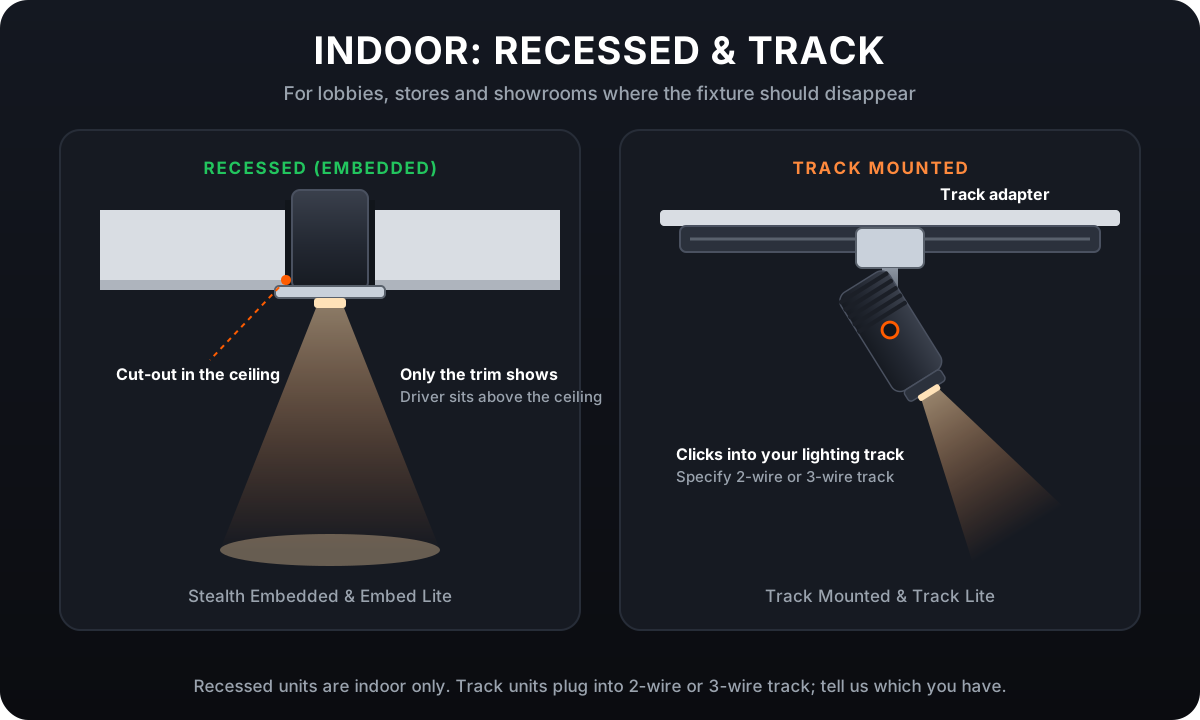
Diagram: a recessed projector in a ceiling cut-out, and a projector clipped into a lighting track Tap to enlarge
5

Indoor: recessed & track

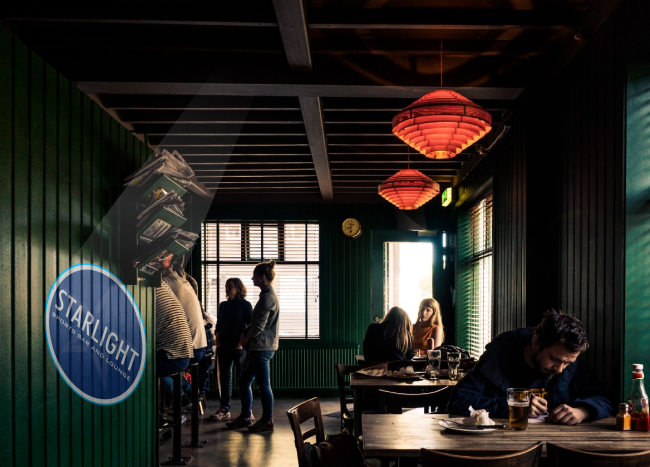
Best for: Lobbies, retail stores, showrooms, restaurants — where the fixture should disappear

  1. Recessed (Stealth Embedded, Embed Lite): cut the ceiling opening, the driver sits above the ceiling and only the trim shows.
  2. Track (Track Mounted, Track Lite): the adapter clicks into your existing lighting track.
  3. Tell us whether your track is 2-wire or 3-wire when you order.
  4. Both are indoor only.

Nothing for track. Recessed: a ceiling cut-out by your installer.

Any mount, step by step

  1. 1

    Pick the spot and the distance

    Distance sets the size: image width is about the lens number times the distance (a 0.33 lens makes a 3.3 ft image from 10 ft). Use the Wattage Finder to match the distance, the size and how bright the area is.

  2. 2

    Keep the angle under 30°

    Aim within about 30° of straight-on to the surface so the logo stays round. If your spot forces a steeper angle, ask for keystone correction: we cut the gobo pre-distorted so the image still lands square and round.

  3. 3

    Fix the bracket to something solid

    A pole, a stud, masonry, a joist or a slab — never ceiling board or drywall alone. Use the hardware for your surface (see the five mounts above).

  4. 4

    Attach the projector and lock it

    Mount the projector on its bracket and snug the fixings just enough that it holds position while you aim.

  5. 5

    Power it safely

    Outdoors, plug into a GFCI-protected weatherproof outlet and leave a drip loop in the cable. Need a longer cord? Order one cut to length with the projector.

  6. 6

    Aim, focus and tighten

    Turn it on, point it, rotate the lens ring until the logo is sharp, then tighten every knob and bolt. Re-focus any time you move it.

Before you climb

Fix into structureA pole, stud, masonry, joist or slab, never drywall or ceiling board alone.
Work safely at heightUse a stable platform or lift for high mounts, and have a second person hand up heavier units.
GFCI outdoorsPlug outdoor units into a GFCI weatherproof outlet, with a drip loop in the cable.
Out of reach, out of eyesMount above head height. Laser models (Class 3B) go overhead and aim at surfaces, never at people.
Big units are a rigging job1500W projectors bolt to a structure; your installer or engineer decides the fixing.
Check before you drillLandlord, HOA and local code rules can apply to exterior fixtures and wiring.

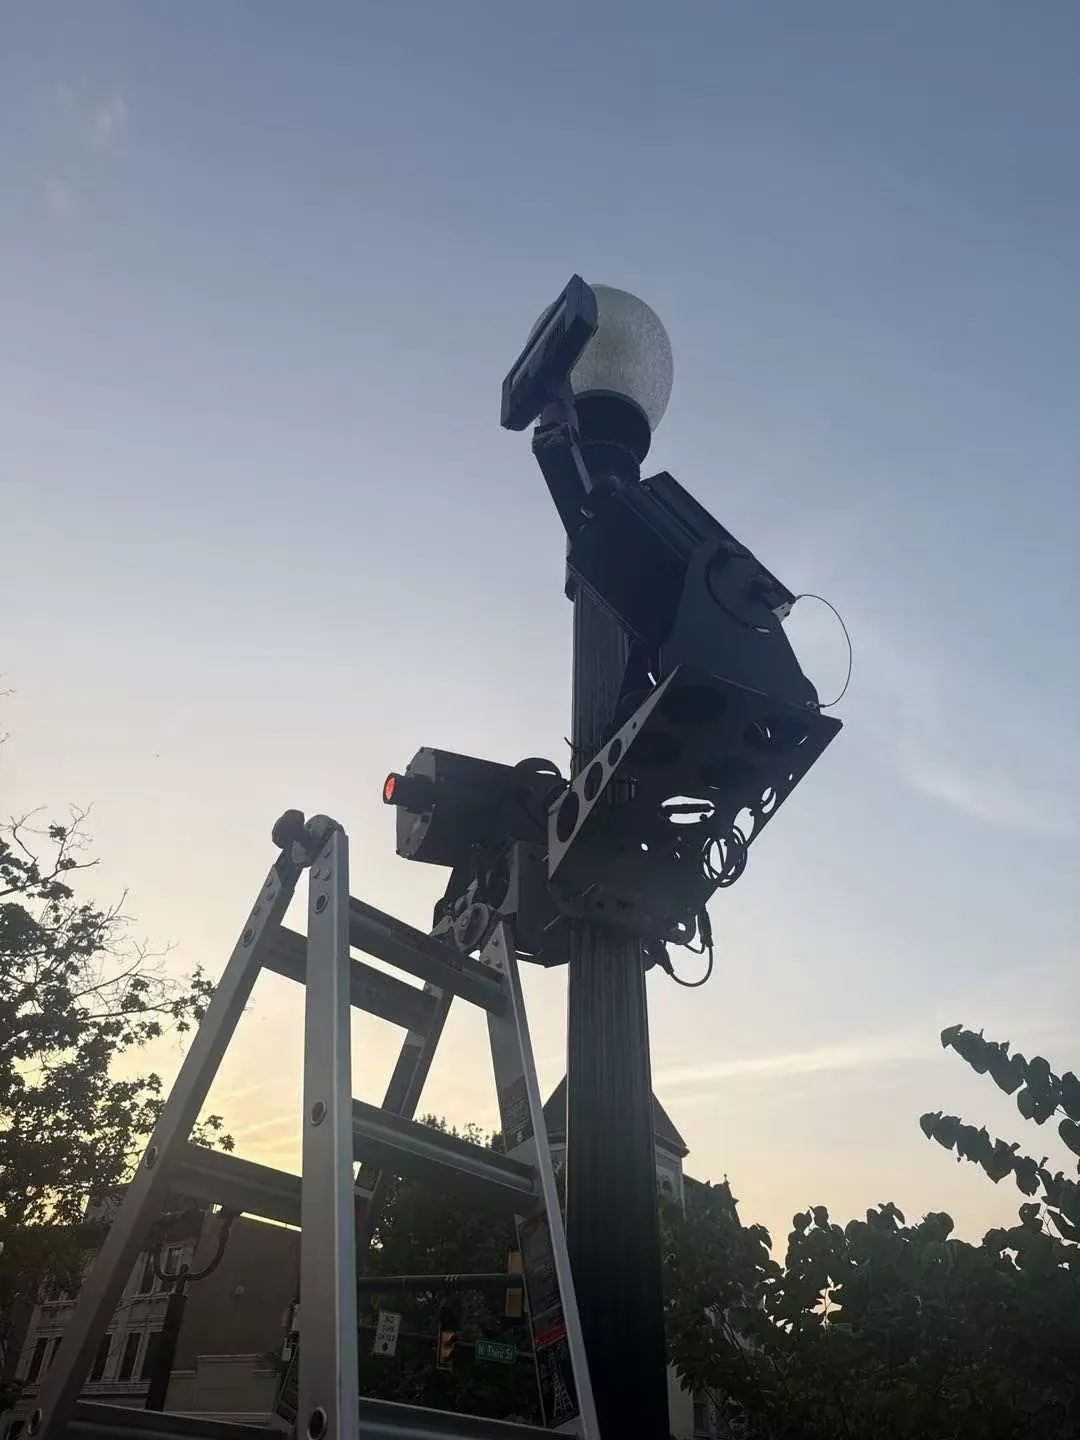
Watch it on the pole

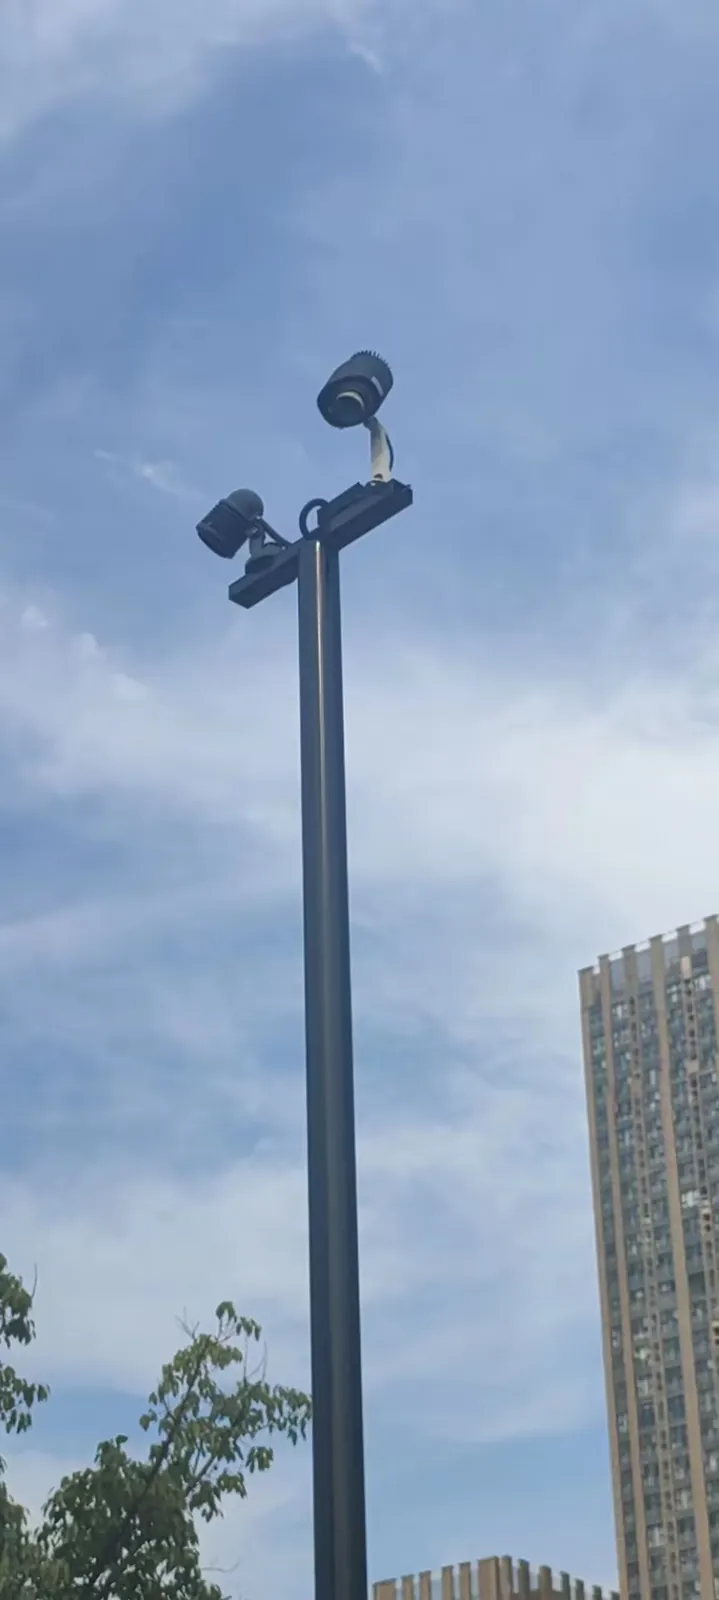
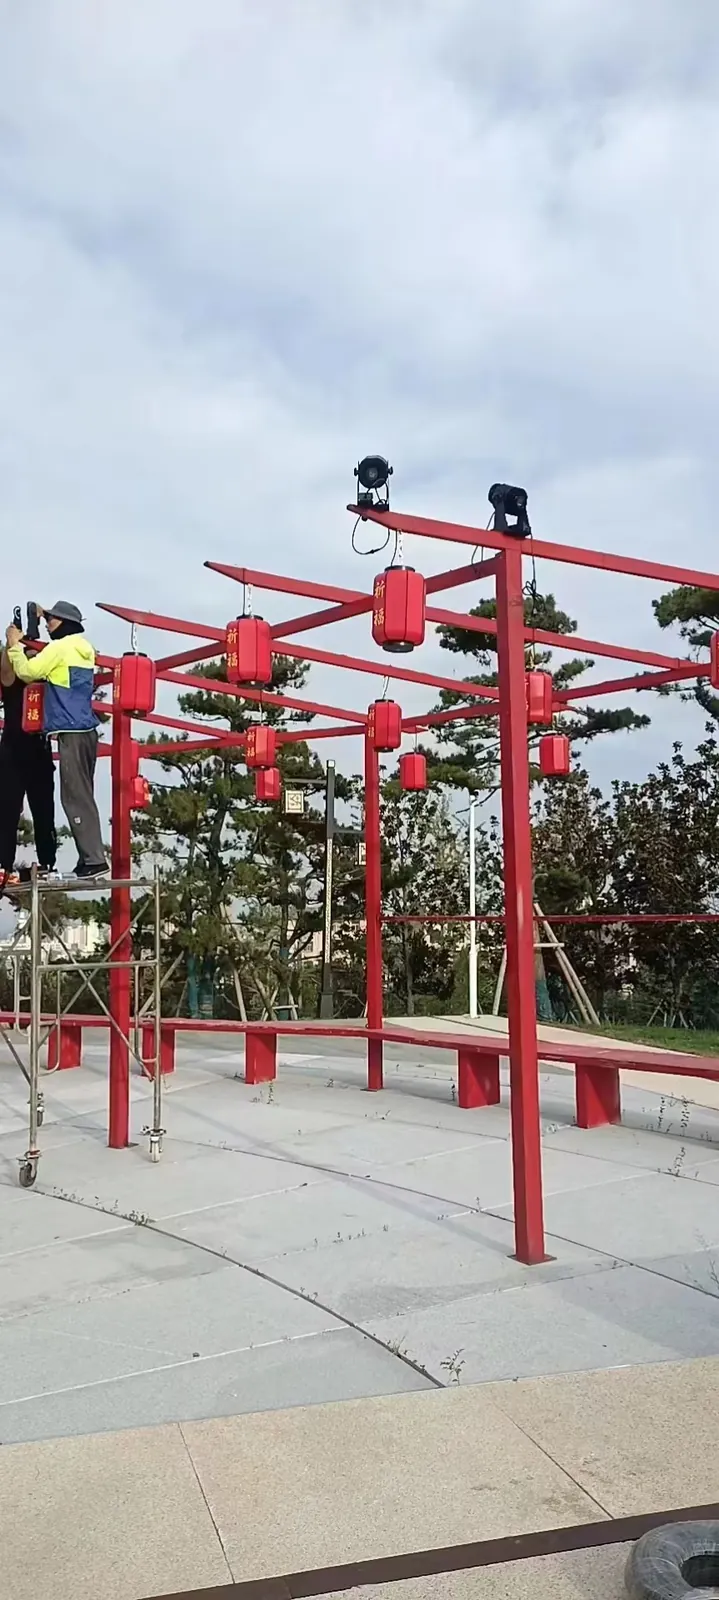
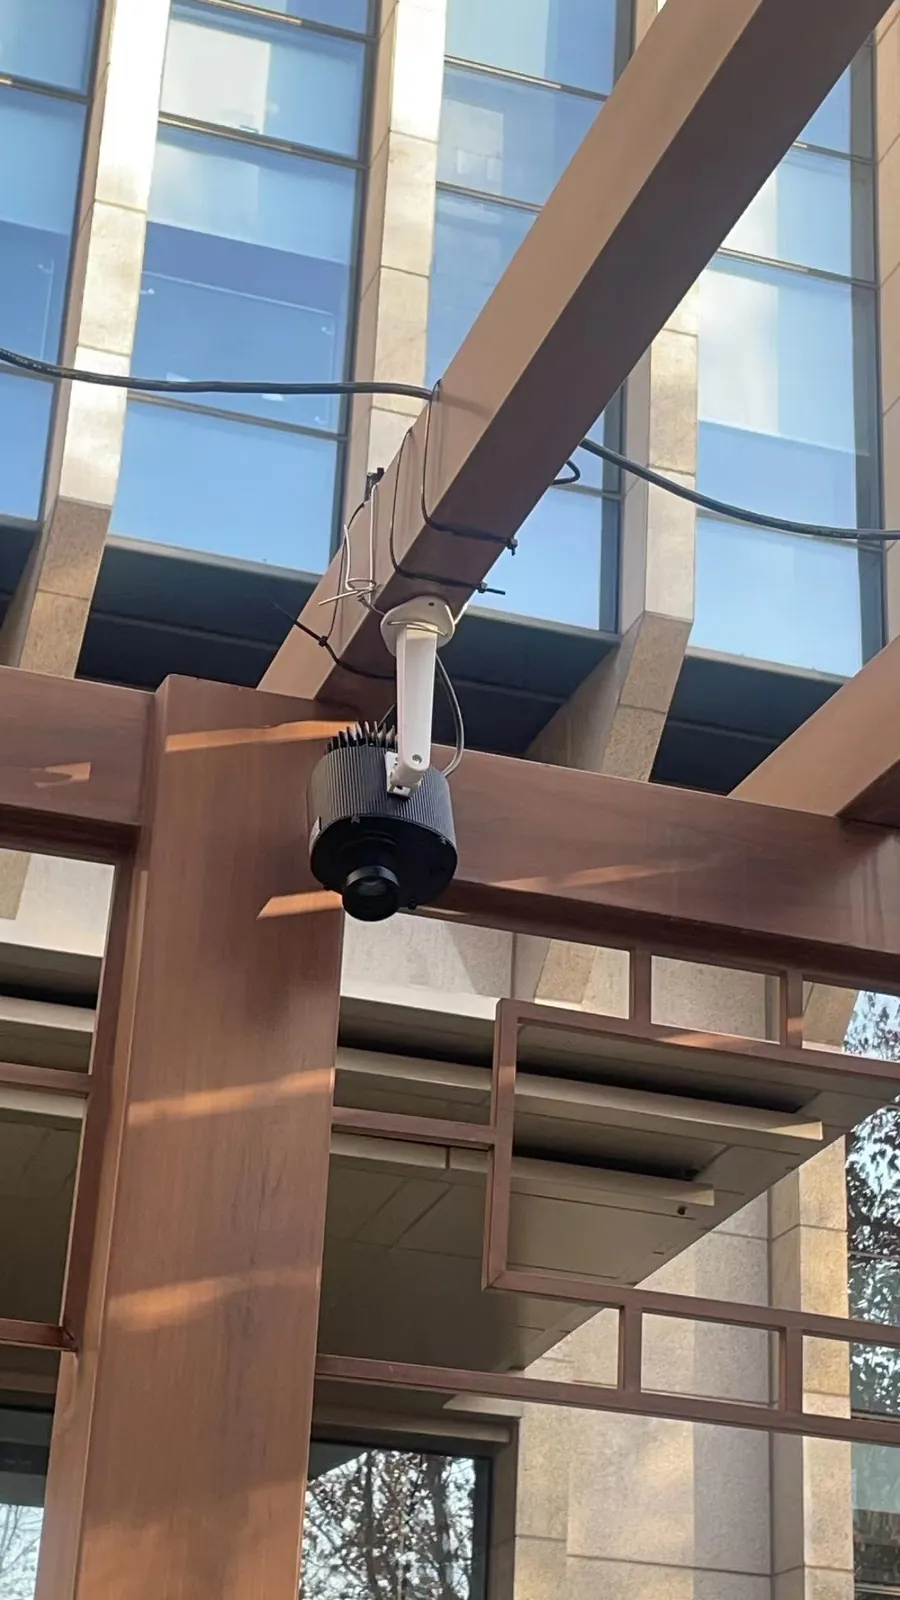
A pole-top mount, up close
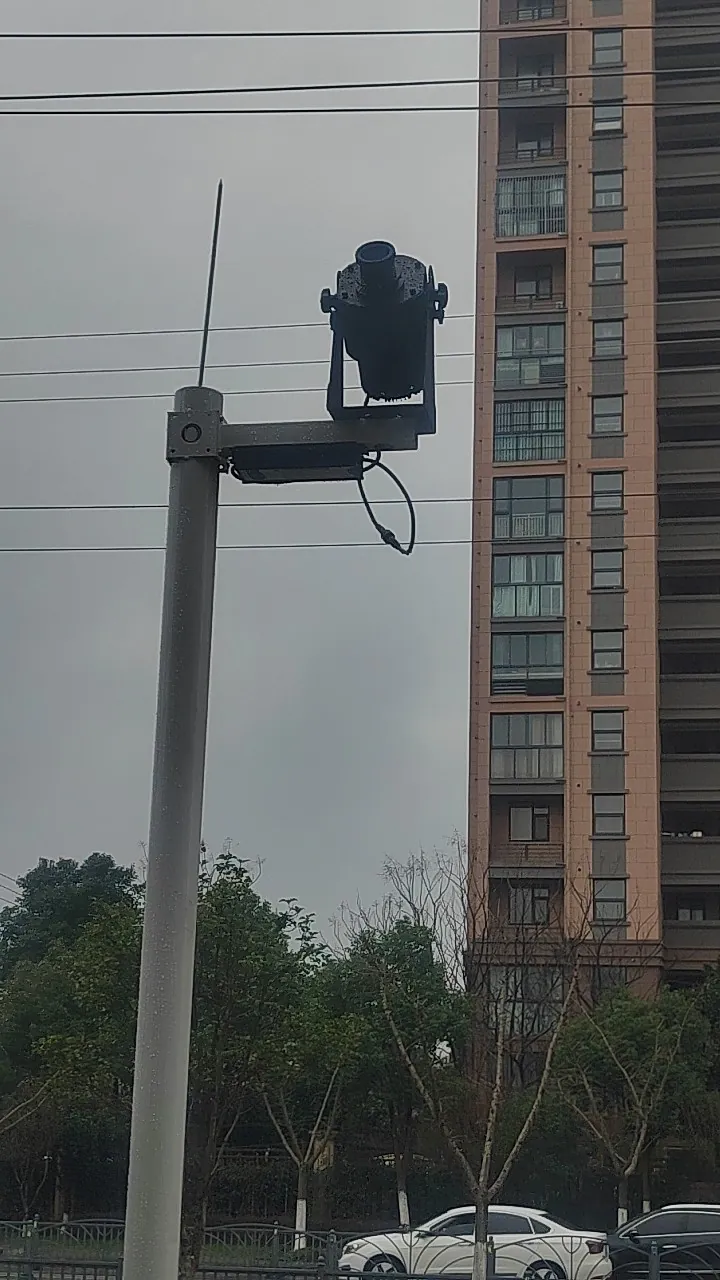
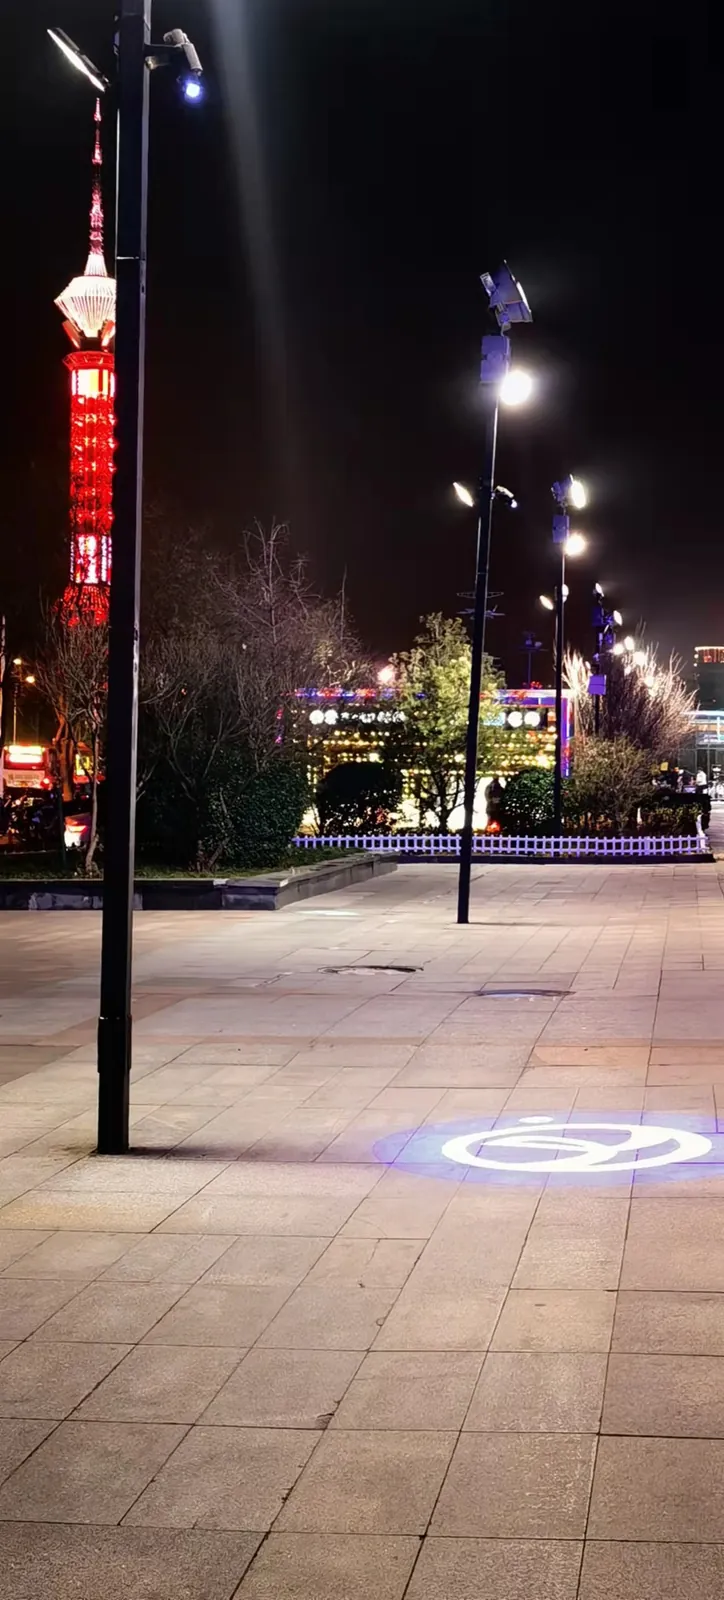
A crew fixing a projector to a pole

What to notice

  • The bracket is fixed to the pole first, then the projector goes on.
  • At height, work from a lift or a stable platform, with fall protection. The climber in the second clip should be harnessed.
  • Aim and focus before the final tightening.
  • The cable runs down the pole to a weatherproof outlet with a drip loop.

Mounting FAQ

Everything people ask us about mounting, in one place. Tap a question to open it.

Brackets & hardware

Does the projector come with a mounting bracket?

Yes. Our gobo projectors ship with a mounting bracket, and on most models the projector tilts in it and locks, so you can aim it after the bracket is fixed. Recessed models ship with their trim and driver, track models with a track adapter, and the 1500W units bolt to a structure. Ask us if you want to confirm the bracket for your model.

What hardware do I need to buy?

Only the fixings for your surface: two stainless band clamps or U-bolts for a pole, sleeve or wedge anchors for brick and concrete, structural screws into a stud for a framed wall, and lag screws or through-bolts for a ceiling joist. All of it is standard hardware-store stock.

What size band clamps or U-bolts do I need for my pole?

Measure the pole: wrap a tape around it and divide the circumference by 3.14 to get the diameter. Buy two stainless steel clamps or U-bolts whose range covers that diameter. Stainless matters outdoors, because plain steel rusts and stains the pole.

Can I mount it on vinyl siding or stucco?

Yes, but fix through the siding or stucco into a stud or solid blocking behind it, never into the cladding alone. On siding, a flat mounting block under the bracket gives it a solid face. Seal every hole with exterior sealant so water cannot get behind the wall.

Can I mount it without drilling into the building?

Often, yes. A pole mount uses clamps around the pole, so nothing is drilled. Where your model's bracket can stand on its base, a projector can also sit on a ledge, planter or rooftop curb. Check with your landlord or property manager before fixing anything to a leased building.

Height, distance & size

How high should I mount it?

High enough to be out of reach and out of people's eyes, typically 9 to 20 ft for an entrance logo. The exact height comes from the image size you want and the lens, so let the Wattage Finder work it out for your spot.

How far from the surface should it be?

Distance sets the size: the image width is roughly the lens number times the distance. A 0.33 lens makes about a 3.3 ft image from 10 ft, and about 6.6 ft from 20 ft. Pick the distance for the size you want, or tell us the distance you have and we pick the lens.

Does mounting farther away make the image dimmer?

Yes. The same light spread over a bigger image looks dimmer, so long throws and bright surroundings need more wattage. That is why the Wattage Finder asks for the distance, the size and how bright the area is.

Angle & keystone correction

Can it be mounted at an angle?

Yes. Within about 30° of straight-on to the surface the logo stays round. Steeper than that, the image stretches into an oval or a trapezoid, one side bigger and dimmer than the other.

What is keystone correction?

When a projector has to hit the surface at a steep angle, we cut the gobo pre-distorted to that angle, so the image lands square and round instead of stretched. Tell us the angle (or send a photo of the spot) when you order, and we build the correction into your gobo.

Can I mount it on a ceiling and project onto the floor?

Yes, on most models: fix the bracket to a joist, beam or slab and the projector hangs below it. Point it straight down for a perfectly round floor logo. Ask us if you want to confirm your model.

Outdoors, power & weather

Can I mount it outdoors?

Our outdoor models are IP65 weatherproof and built for permanent outdoor installation. Keep the plug connection out of standing water, leave a drip loop in the cable, and use a GFCI-protected outdoor outlet. Indoor, recessed and track models are indoor only.

Do I need an electrician?

Not for most installs. Our projectors plug into a standard outlet; outdoors, use a GFCI weatherproof outlet. Hardwired, recessed and very high-wattage installs are a job for a licensed electrician.

What if the outlet is far from where I mount it?

The standard cord is 5 ft, and longer cords are available cut to length, from 6 ft up to 75 ft on many models. Order the length you need with the projector rather than running an extension cord outdoors.

What is a drip loop and why does it matter?

A drip loop is a dip in the cable below the outlet before it rises into it. Rain running down the cable collects at the lowest point and drips off, instead of following the cable into the plug. It costs nothing and prevents most outdoor power faults.

Can I put it on a timer?

Yes. Plug it into an outdoor timer and it turns on at dusk and off at close every day. We sell an outdoor waterproof timer and a waterproof switch cover as add-ons on the product pages.

Special situations

How do I mount several projectors close together?

Space them so the beams do not cross, and aim each one before tightening. Standard remotes share one signal, so one remote can switch a neighboring unit; we can supply remotes programmed to their own projector when you order, for an additional fee.

How do I keep it from being stolen or tampered with?

Mount it high and out of reach, use tamper-resistant security screws on the bracket, and route the cable where it cannot be pulled. A pole or soffit mount is harder to reach than a low wall.

Can I move it to a new spot later?

Yes. Unbolt the bracket, fix it in the new spot, re-aim and re-focus. If the new distance is very different, the image size changes with it, and a different lens may suit the new spot better. Ask us and we will check.

How do the big 1500W projectors mount?

They bolt down to a structure such as a roof curb, plinth, platform or rated frame. That is a rigging job: your installer or structural engineer decides the fixing, and we give them everything they ask for.

Can you tell me where to put it?

Yes. Send us a photo of the spot, the distance to the surface and the size you want, and we will recommend the mount, the height, the lens and the wattage.

Not sure which mount fits your spot? Send a photo, the distance to the surface and the size you want. We will tell you the mount, the height, the lens and the wattage.
Send us your spot

More guides: How to change your gobo · Mounting tips on the blog · Wattage Finder