Nov 30, 2024
PROJECTION ANGLE

The fastest way to understand projection angles is to see them. Try the interactive tool below 👇
The lens sets the angle of the beam. The distance sets how big the image gets. Drag the slider and swap lenses to see it.
Logo Projection Angles: How to Keep Your Gobo Perfectly Round
At Infinity Projectors | Gobo Logo Projectors, Custom Gobos & Interactive Displays ∞ - Infinity Projectors, our goal is simple:
When you turn on your logo projector, your design should look exactly like your original file.
A big part of this is choosing the correct projection angle.
Mount your gobo projector at the wrong angle and your perfect circle can turn into an oval.
In this guide, you’ll learn:
- The best projection angles for logo projectors
- Which angles are recommended, and which are too extreme
- Why a projector on the ground cannot point cleanly to the 20th floor
- Practical tips to mount your Infinity projector so your logo stays sharp and round
Join the projection revolution!
Quick Answer: What Angle Should I Use?
Here is the simple rule for projection angles:
✅ Best angles
- 0° – Projector is straight in front of the wall.
- 90° – Projector is straight above, pointing down to the floor.
✅ Recommended working range
- 10° to 25° tilt – Usually looks very good.
- Most logos still appear round and clean.
⚠️ Maximum recommended angle
- 30° – This is the upper limit of what we recommend.
- It can still be usable, but you may see some distortion, especially on circles and text.
❌ Too steep – avoid if possible
- More than 30° tilt (for example 35°, 40°, 45°, 50°).
- The logo becomes noticeably stretched and unprofessional.
Rule of thumb: Aim for 0° / 90° when you can. Angles up to 25° are usually fine. 30° is the “borderline maximum”. Anything above that is too much.

Why Angle Matters: The Keystone Effect
When light from your logo projector hits the wall or floor at a strong angle, you get what’s called the keystone effect:
- The part of the image that is closer to the projector looks larger.
- The part that is farther away looks smaller.
- A perfect circle turns into an oval.
- Straight lines and text can look leaning or stretched.
This is not a problem with the projector or the gobo glass. It’s simply geometry. The steeper the angle, the stronger the distortion.
The good news: if you respect the angle limits, your logo will look great.
Understanding 0°, 90° and Tilted Angles

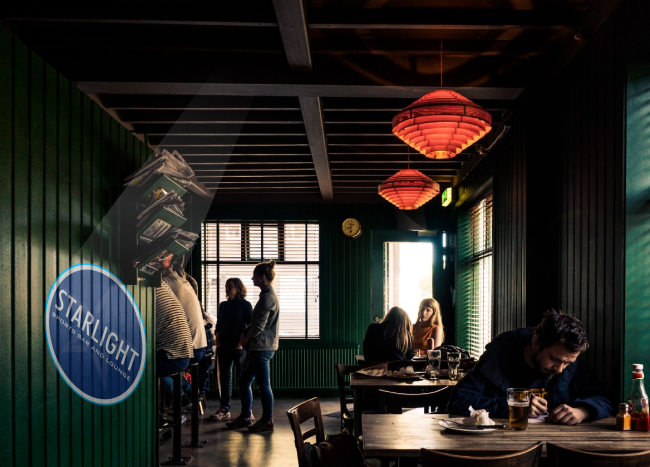
0° – Straight-On Wall Projection (Best)
- The beam hits the wall at 0°.
- Every part of the logo is the same distance from the lens.
- Circles stay circles, and text stays easy to read.
This is the ideal setup for most wall projections.

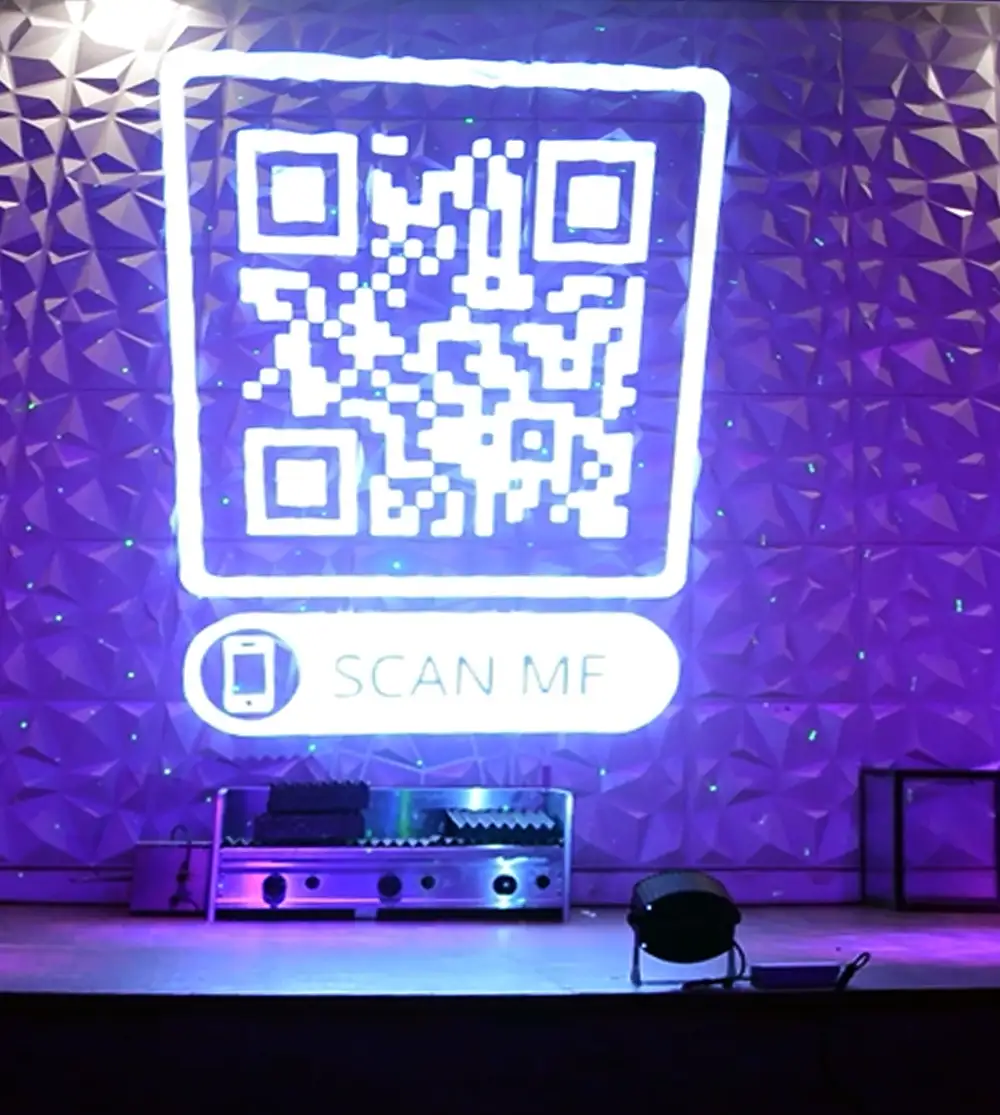
90° – Straight-Down Floor Projection (Best)
- The projector is mounted on the ceiling or truss.
- The light points straight down to the floor.
- The logo appears sharp and perfectly round in the center of the beam.
This is perfect for entry logos, dance floors, and event branding.

10°–25° – Recommended Tilt Range
In real life, you can’t always mount the projector in a perfect position. Sometimes it needs to be slightly above or below the center of the logo.
- Very small distortion that most people never notice.
- Circles and text still look professional.
- This is our recommended working range for tilted installations.

30° – Maximum Recommended Angle
- Circles may look slightly oval.
- Straight lines and borders can appear off.
- Detailed logos and small text begin to suffer.
For that reason, 30° is our maximum recommended tilt. When in doubt, stay at or below 25°.

More Than 30° – Too Steep
- Distortion is strong and very noticeable.
- Circles become egg-shaped.
- Text can look tall on one side and short on the other.
We consider this too steep for professional logo projection.


How Mounting Position Affects Angle

Wall Mount
- Best when the projector can be placed roughly at the center height of the logo.
- Use short brackets or arms to keep the tilt small.
- Try to keep total tilt under 25°, with 30° as the maximum.
Ceiling / Hoisting Mount
- Ideal for floor gobos with a 90° angle.
- Can also be used for upper wall areas if you can aim the beam at a shallow angle.
Seated / Ground Mount
- Works well for lower walls or short projection distances.
- For tall façades or very high logos, a ground mount usually forces a steep angle.
- In those cases, use a pole mount or higher position instead.
Planning Your Projection Angle: Simple Checklist
- ✅ Choose the projection surface
Wall, floor, ceiling, building façade, or special object. - ✅ Decide where you want the logo
How high? How large? Centered or off to the side? - ✅ Pick the mounting location
Try for 0° on walls or 90° on floors first. If you must tilt, keep it under 25° and never more than 30°. - ✅ Check the angle visually
If it looks very steep, it probably is. Move the projector higher or farther away. - ✅ Adjust distance and focus
Use the right lens and distance to get the correct image size. Refocus until the logo edges are clean. - ✅ Test in real light conditions
Turn off unneeded lights if possible. Look at round shapes and text to check for distortion. If it looks stretched, reduce the angle.
Make Your Logo Look the Way It Was Designed
Your logo is a valuable part of your brand. With the right mounting position and projection angle, your Infinity gobo projector will show it exactly as intended.
Remember:
- 0° or 90° whenever possible
- 10°–25° = recommended working range
- 30° = maximum recommended angle
- More than 30° = too steep; move the projector instead
If you’re not sure how to place your projector, the team at Infinity Projectors is here to help.
Send us a photo or simple sketch of your space, and we’ll recommend the best mounting position, angle, and lens for your project.
Visit Infinity Projectors | Gobo Logo Projectors, Custom Gobos & Interactive Displays ∞ - Infinity Projectors and join the projection revolution with clean, professional logo projections that truly represent your brand.
Complete your projector setup
Automate when it runs and protect it from the weather — both add right on any projector.